The Legend of Zelda: Majora's Mask
![]()
Unlike Ocarina of Time, Majora's Mask has two different ports. As explained on the site's index, the ones I'm choosing to document are Ship of Harkinian's Port, and the Recompilation for Zelda64 games (I'm just going to refer to it as "Recompilation" or "Recomp").
In short:
- Choose Ship of Harkinian if you want more powerful enhancements, tweaks, and a randomizer.
- Choose the Recompilation for ease-of-use, and a more user-friendly mod experience.
Many options in Ship of Harkinian are available as mods in the Recompilation, but require manually installing them (for instance, fast push/pull). This may be annoying to some.
Suggested Control Scheme
I've tweaked a control scheme for N64 Zeldas, and I feel this works well on a modern controller.

| Control | Button |
|---|---|
| Movement | Left Analog Stick |
| Camera | Right Analog Stick |
| A | A (Xbox Layout), B (Nintendo Layout), Cross (PS Layout) |
| B | X (Xbox), Y (Nintendo), Square (PS) |
| C Up | Y (Xbox), X (Nintendo), Triangle (PS) |
| C Down | B (Xbox), A (Nintendo), Circle (PS) |
| C Left | Left Bumper |
| C Right | Right Bumper |
| Z | Left Trigger |
| R | Right Trigger |
| L | Back/Minus/Share |
| Start | Start/Plus/Options |
| Dpad | Dpad |
Installation - Ship of Harkinian
- Download the latest release of 2ship2harkinian. Extract it to a folder on your PC, and keep that folder handy.
- Find, dump or download a ROM of Majora's Mask (it should be in a
z64format. Harbour Masters have released a tool to validate a ROM here.) - Place the ROM in the same directory as
2ship.exe. Run2ship.exe. 2ship.exewill ask you: "No O2R files found. Generate one now?" Click Yes.- If your ROM is already in the same directory, it will detect it. If not, you'll be asked to locate it, or you have the option to locate another ROM.
- A command prompt window will launch as the
O2Rgenerates. This is basically taking the ROM and making it readable/usable by2ship.exe. - The game will launch when the process is complete. After the
O2Ris generated once, you just have to launch2ship.exeto play the game.
Syncing Saves
Thankfully, 2 Ship 2 Harkinian is a portable installation and stores its save files in the Save folder in the main directory.
To sync using SyncThing:
- Create a folder sync that points to your
2Shipfolder. -
In the
Ignore Patternspane, add:!/Save * -
Before sharing the folder using SyncThing, download and extract 2Ship on your second device.
- Share the folder using SyncThing.
- On your second device set the folder's target to be inside your
2Shipdirectory. Example:D:\2Ship- theSavedirectory will be automatically created.
Suggested Changes:
Settings > Graphics: Current FPS: change to 60Enhancements > Camera: Check Free Look (this requires the right joystick on your controller to not be set as any buttons), Right Stick Aiming and Move while aiming checked.Enhancements > Gameplay: Climb speed to 5. Faster Push/Pull Enabled. Dpad Equips Enabled. Bow Reticle Enabled. Do not reset Razor Sword Enabled.Enhancements > Items/Songs: Better Song of Double Time Enabled. Faster Song Playback Enabled, Skip Song of Time cutscenes Enabled, Fast Transformation Enabled, 3DS Style Mask Equipping Enabled.Enhancements > Time Savers: Fast Text Enabled.
HD Textures
- Go to the Majora's Mask Reloaded downloads page.
- Make sure to click the "Ship" icon.
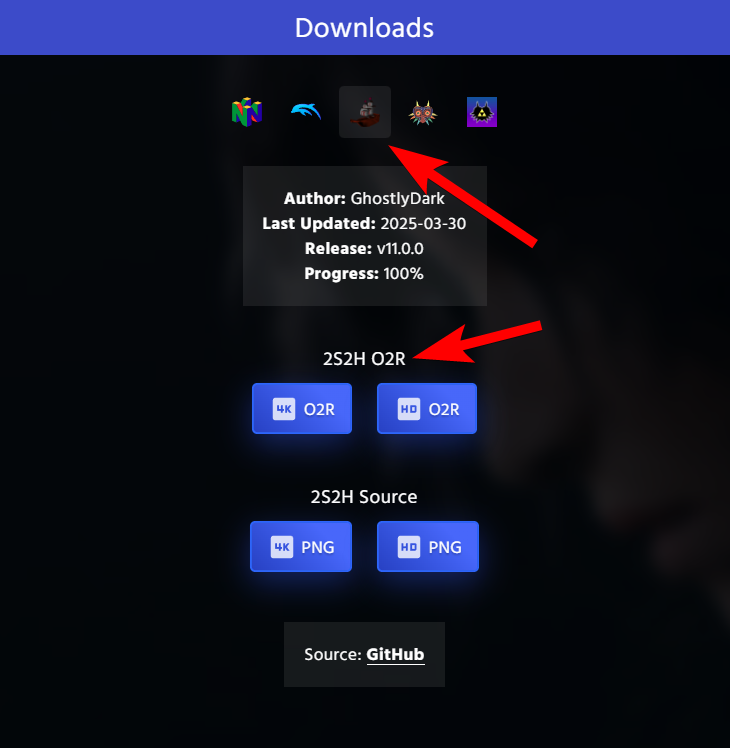
- Download an
O2Rfile for either HD or 4K textures (from the "2S2H O2R" heading). The 4K Texture pack will be much larger. - Place whatever file you download in the
modsfolder of your 2ship2harkinian directory. - Launch the game. When it loads, press
TABto switch the textures.
You can also go to the options and click "Use Alternate Assets" in the Enhancements > Graphics menu.
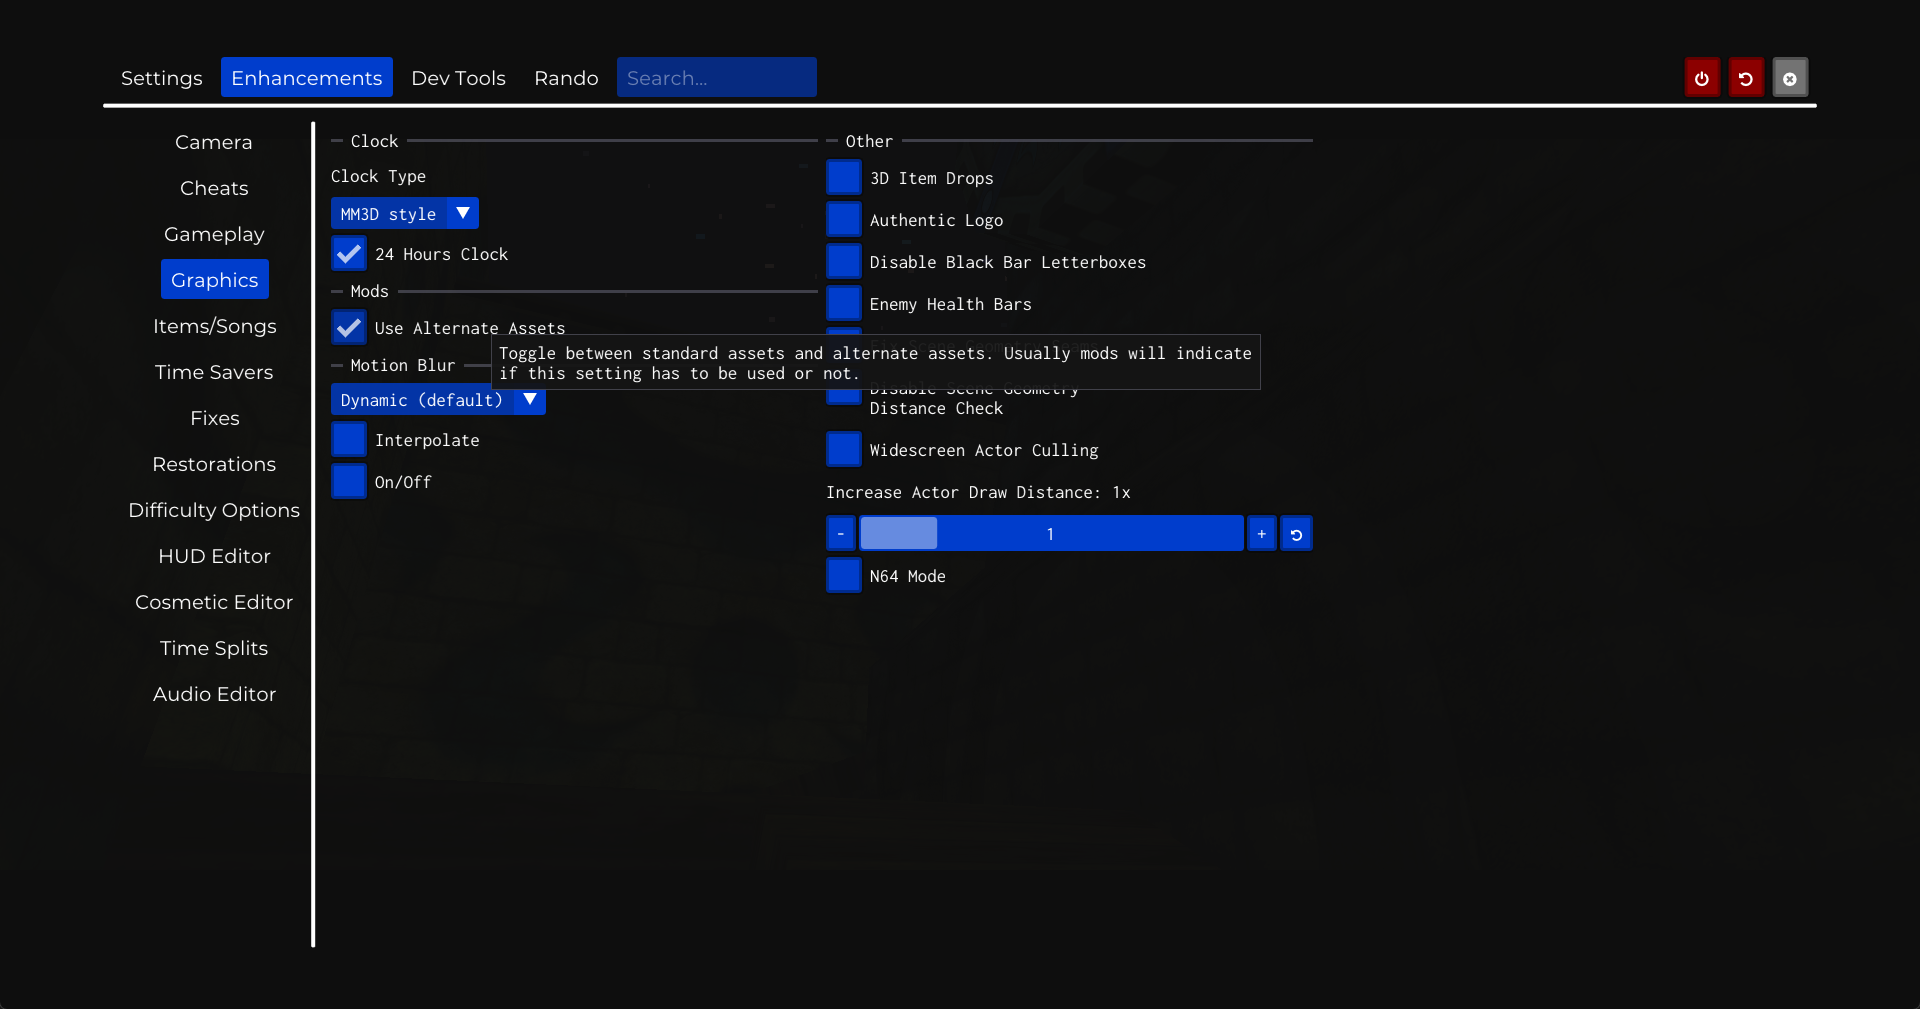
An easy way to tell if it's working is the title logo.
HD On:
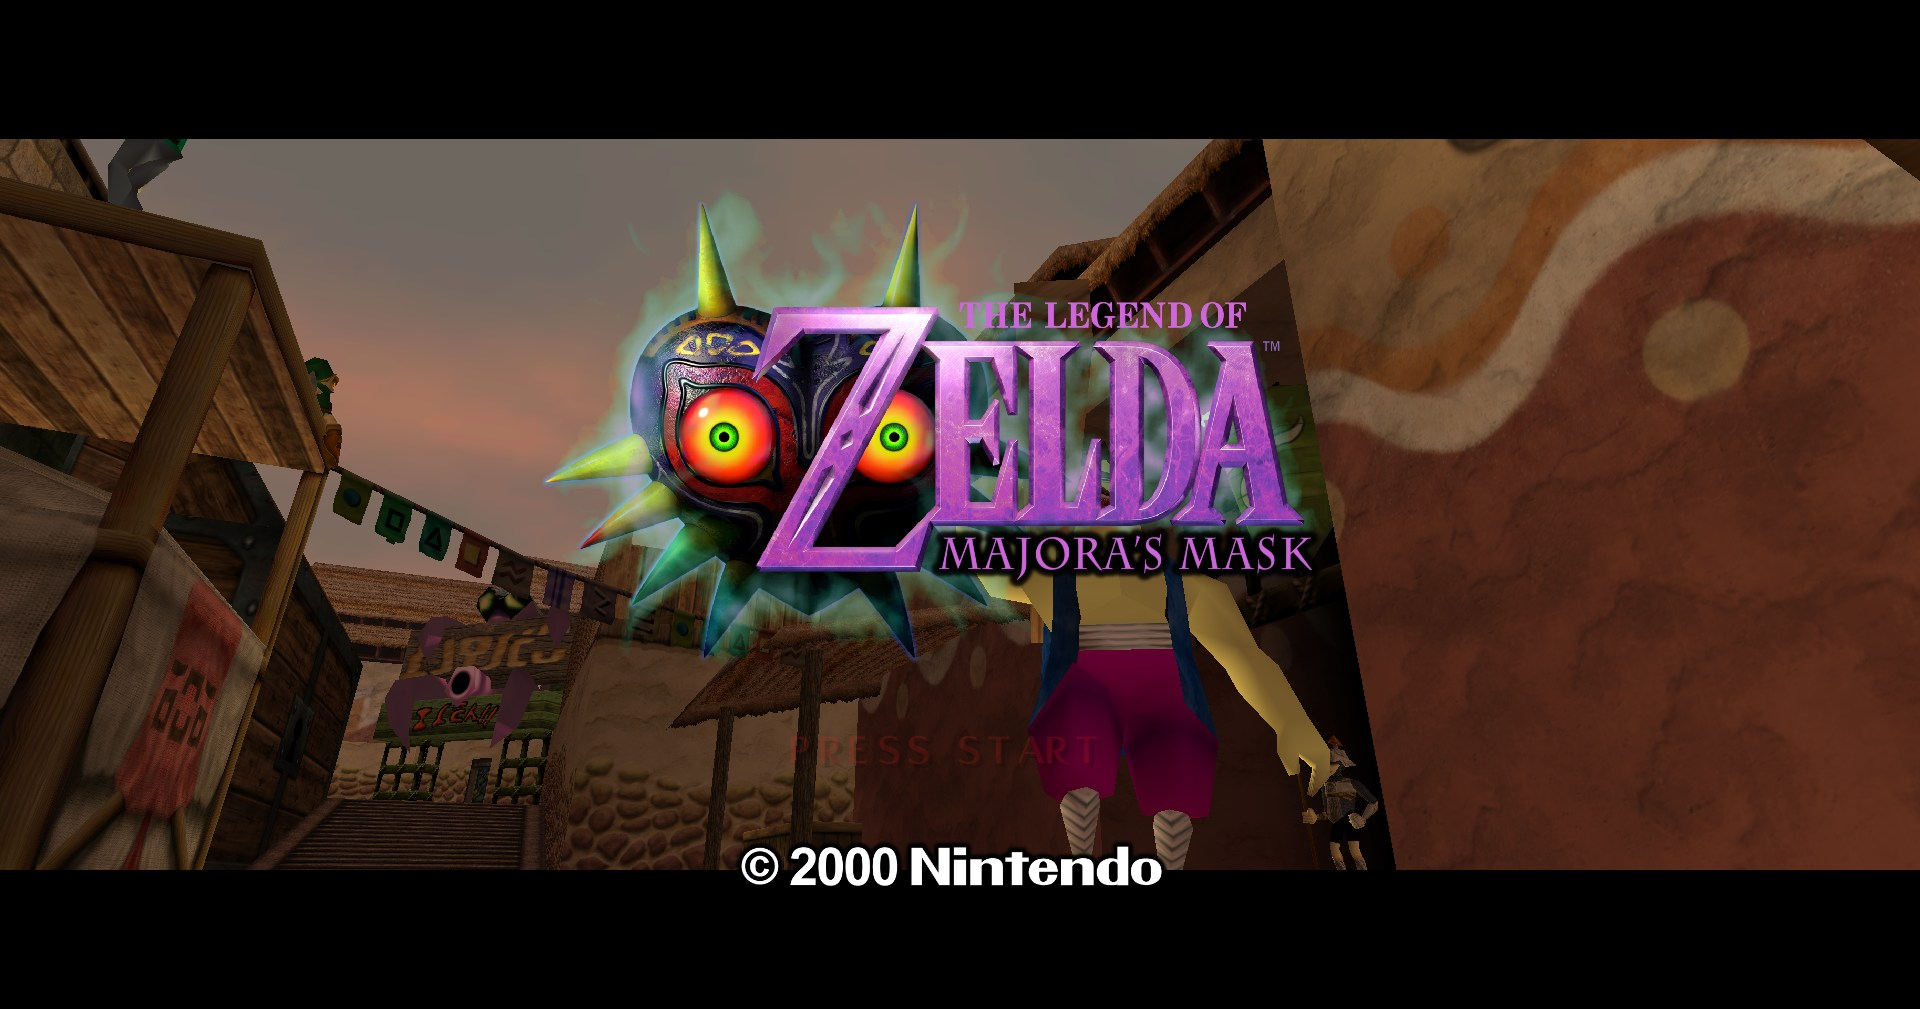
HD Off:
Installation - Zelda 64 Recompilation
- Download your version (Windows, Linux, etc) from the Github Releases Page. Extract it to a folder and keep it handy; we're going to name it
Zelda64Recompfor reference. - Create a blank text file called
portable.txtinsideZelda64Recomp(see Syncing Saves for why) - Open
Zelda64Recompiled.exe. - Click or select "Select ROM" from the main menu.
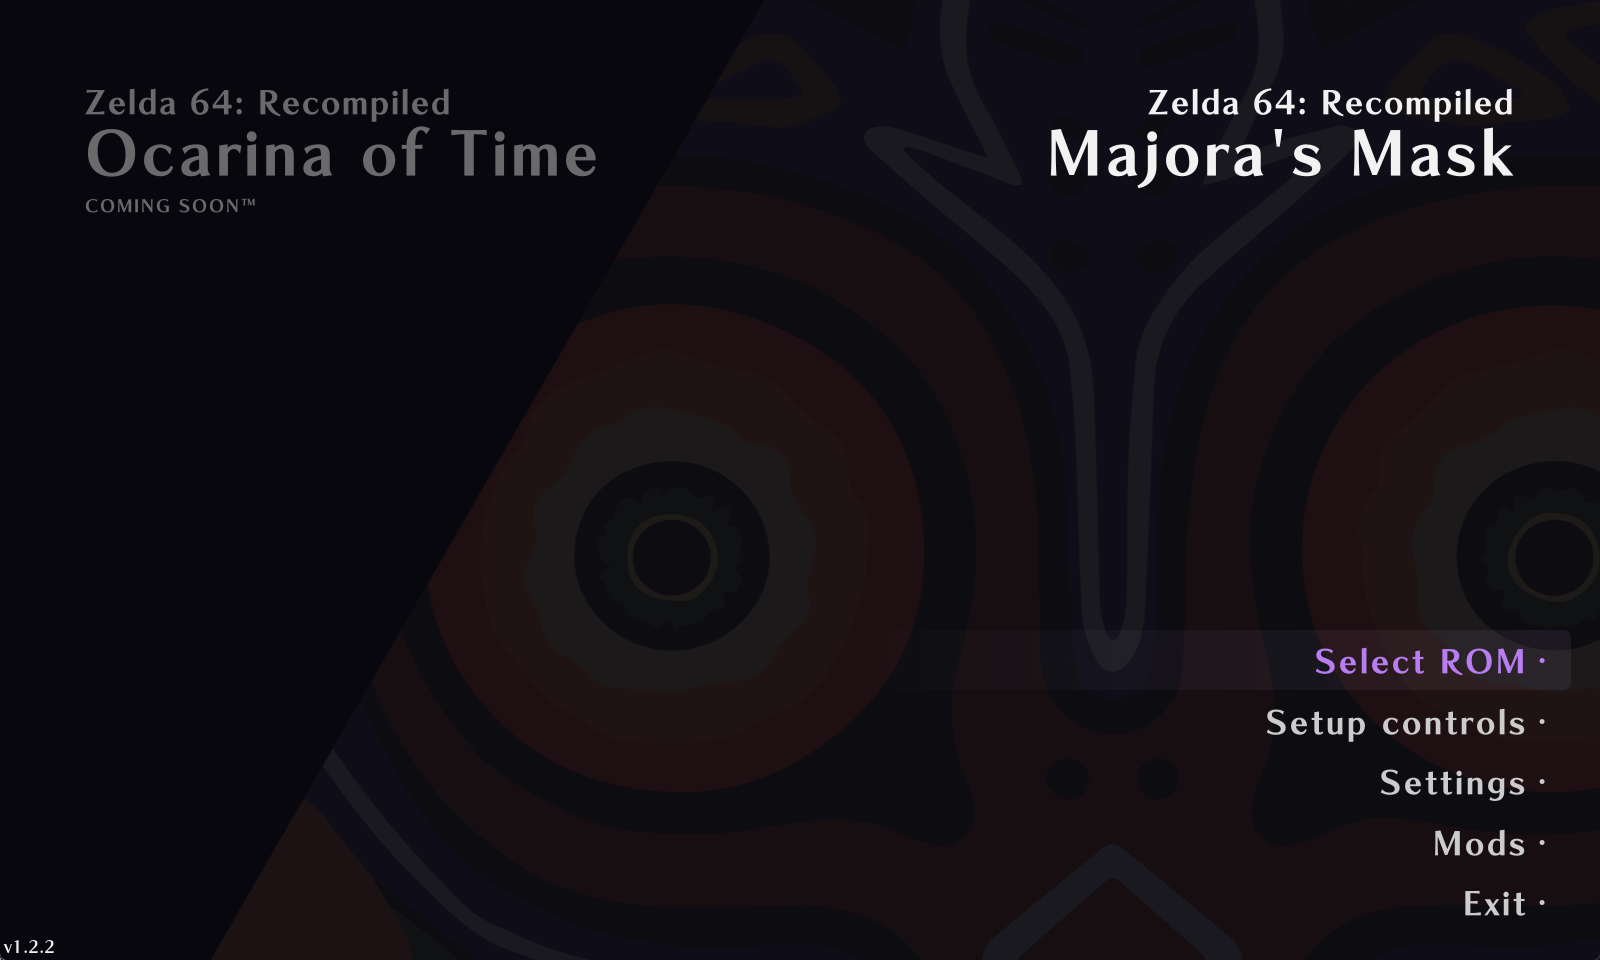
- Select your ROM file. It can the same one you used for the 2ship information above.
- "Select ROM" should change to "Start Game". Select that option to start the game.
Syncing Saves
By adding portable.txt to our folder during installation, it meant that our save data is saved within Zelda64Recomp under the saves folder. This makes syncing it using SyncThing simple.
To sync using SyncThing:
- Create a folder sync that points to your
Zelda64Recompfolder. -
In the
Ignore Patternspane, add:!/saves * -
Before sharing the folder using SyncThing, download and extract the Recompilation on your second device. Make sure to also add
portable.txtto the new installation. - Share the folder using SyncThing.
- On your second device set the folder's target to be inside your
Zelda64Recompdirectory. Example:D:\Zelda64Recomp- thesavesdirectory will be automatically created.
Controls
Controls can be found from the main menu (before hitting "Start Game"). My suggested controller map is here:
Mods and HD Textures
Mods for the Zelda 64 Recompilation project are done through a simple modding interface. All HD textures and most extra options are installed via mods. I recommend at least installing/enabling the D-Pad Items and Song Utilities mods.
Downloading mods and dependencies
Mods can be found via the Thunderstore.io site. This link will take you to a page where mods are sorted by Most Downloaded. When you download a mod, it typically will download a .zip archive.
A mod may require another mod to function: this is called a dependency. When you go to download a mod which requires a dependency, there will be a box explaining what mods it depends on to function.
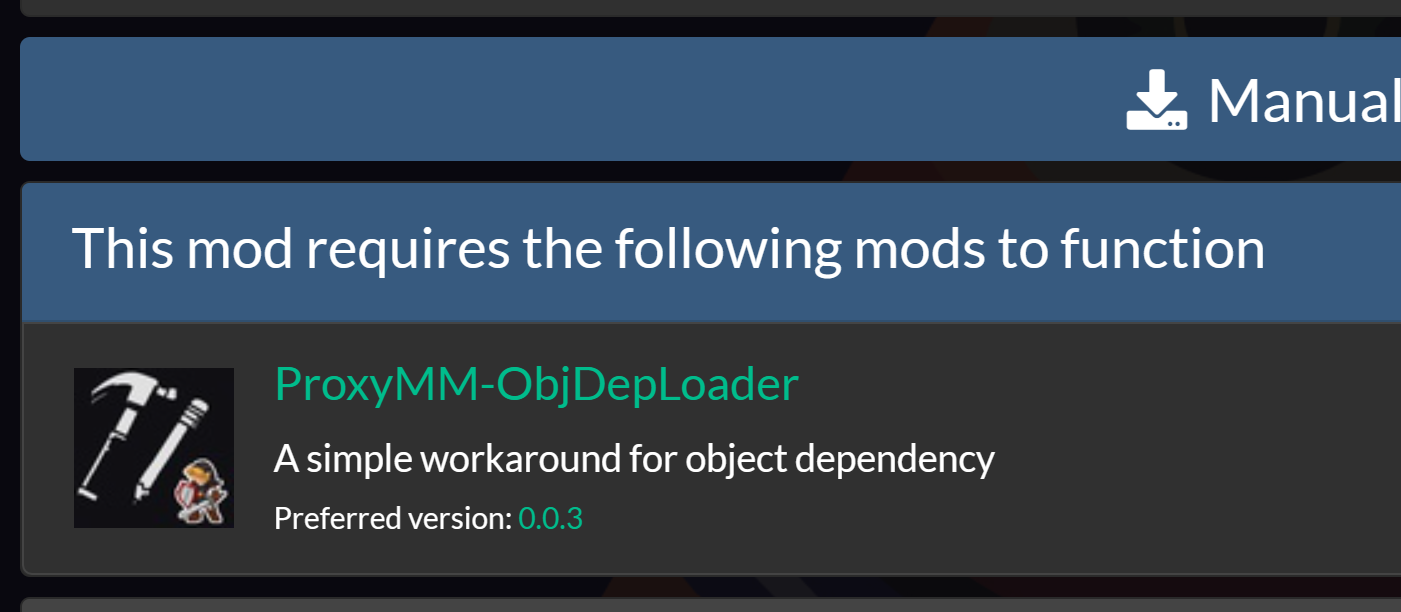
To use the mod, you must also install the dependency. If you're installing multiple mods with the same dependency, the dependency only needs to be installed once.
Some mods worth considering:
- MMN64HD - HD Texture pack
- Disable Draw Distance - Removes fog that the N64 needed for performance
- Song Utilities - Changes some stuff related to Ocarina songs (skips cutscenes on playing beyond the first time, etc)
- Bow Aiming Reticle - Adds a red dot for the bow
- Better Song of Double Time - Allows you to pick the specific hour you warp to in the future, instead of six hour increments like vanilla.
- Fast Pushing and Fast Climb - Speeds up the animations for pushing and climbing, respectively.
All of the above may include dependencies that I did not list.
Installing mods
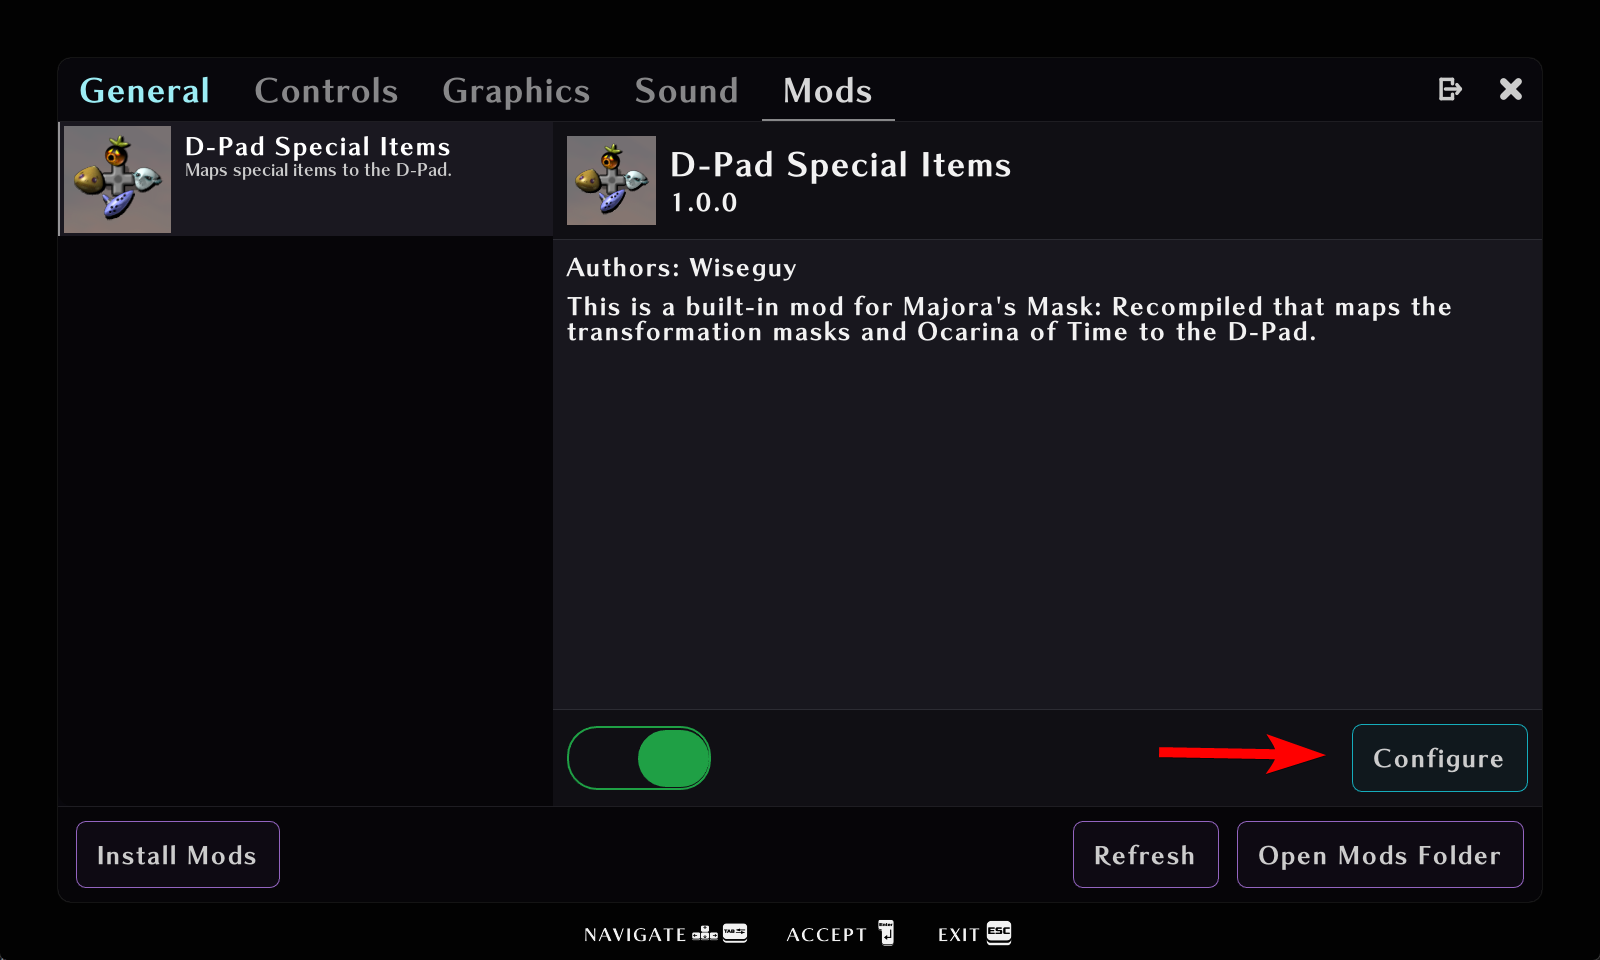
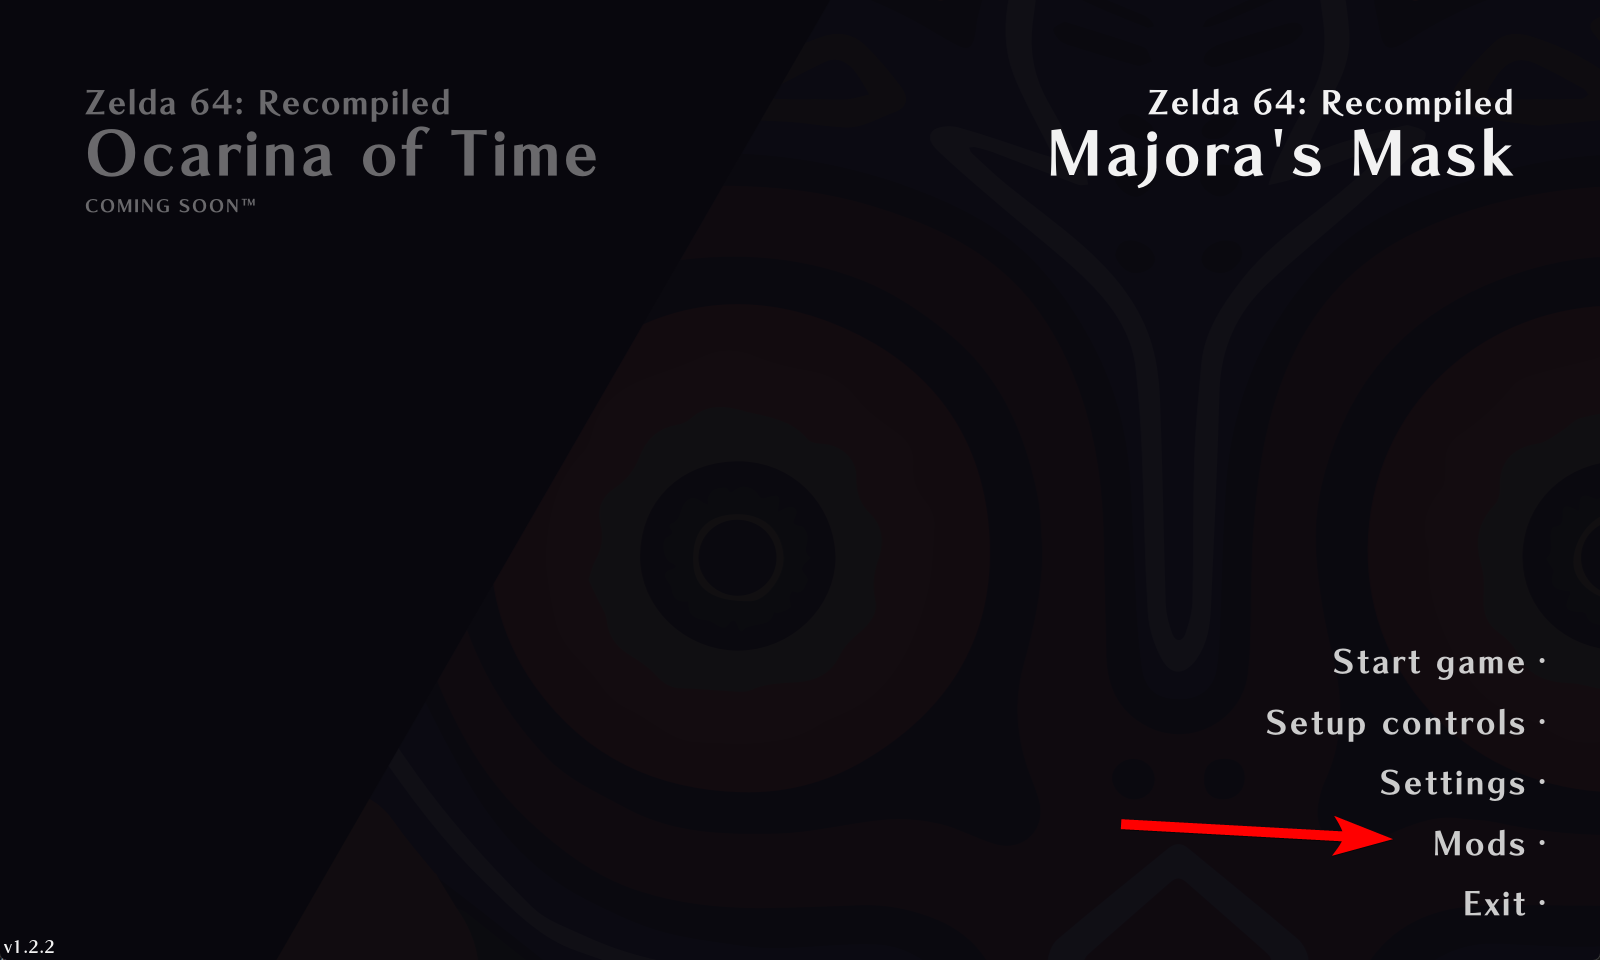
- From the main menu, click "Mods".
- From the Mods menu, click "Install Mods" in the bottom-left corner.
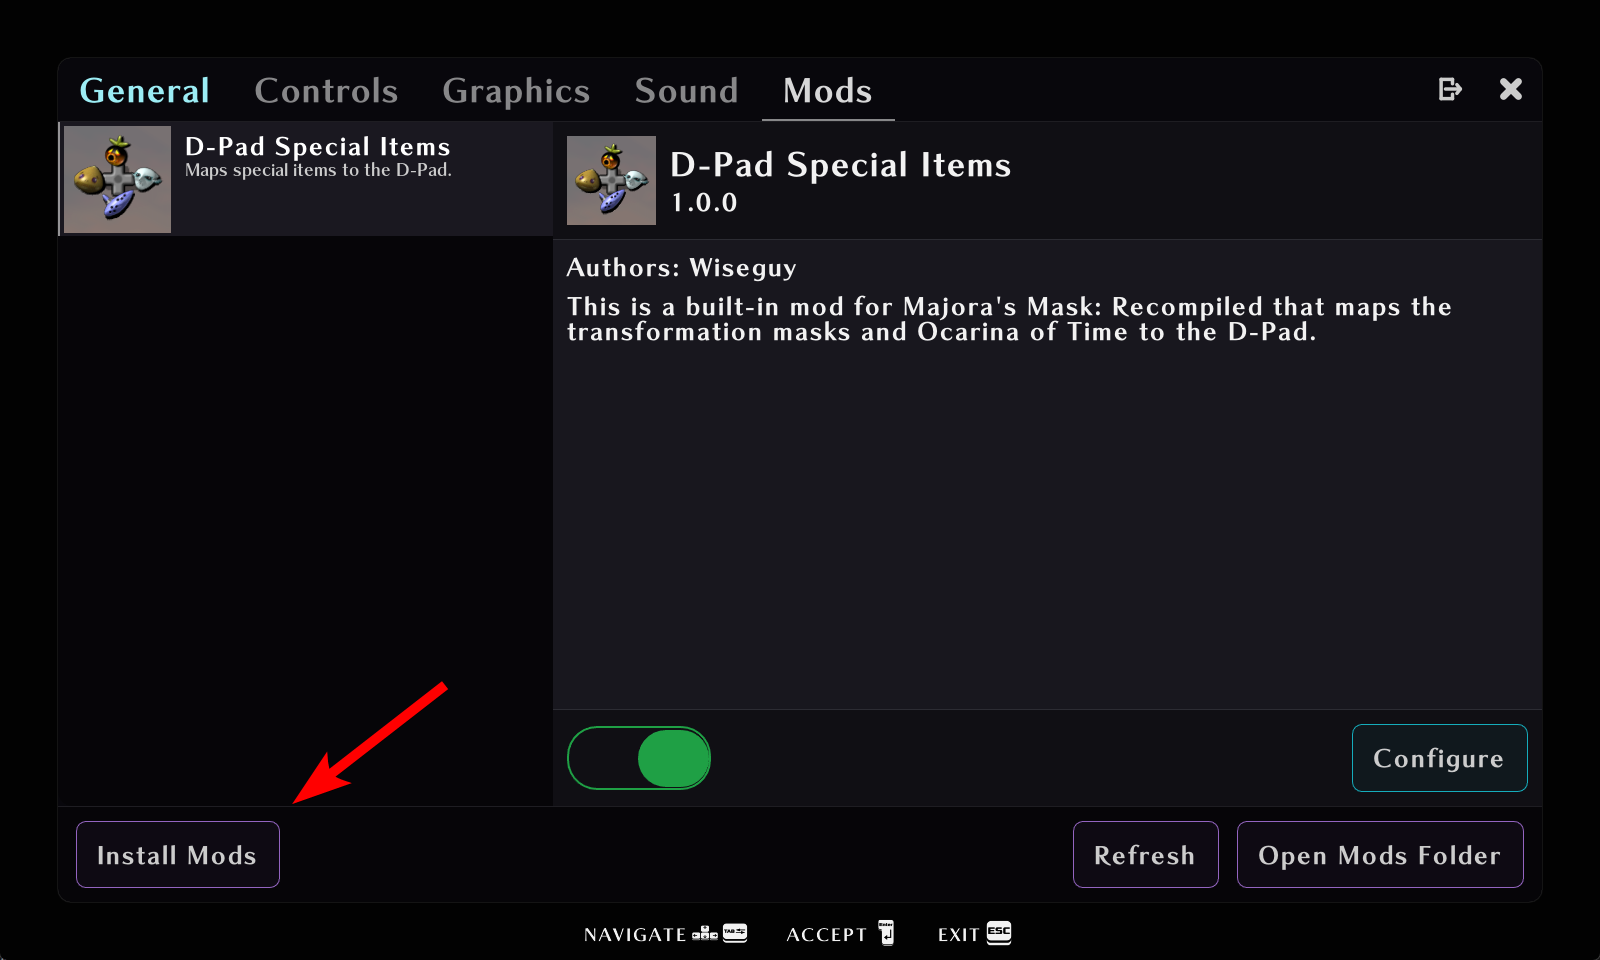
- Select the files that you downloaded. The mods will install.
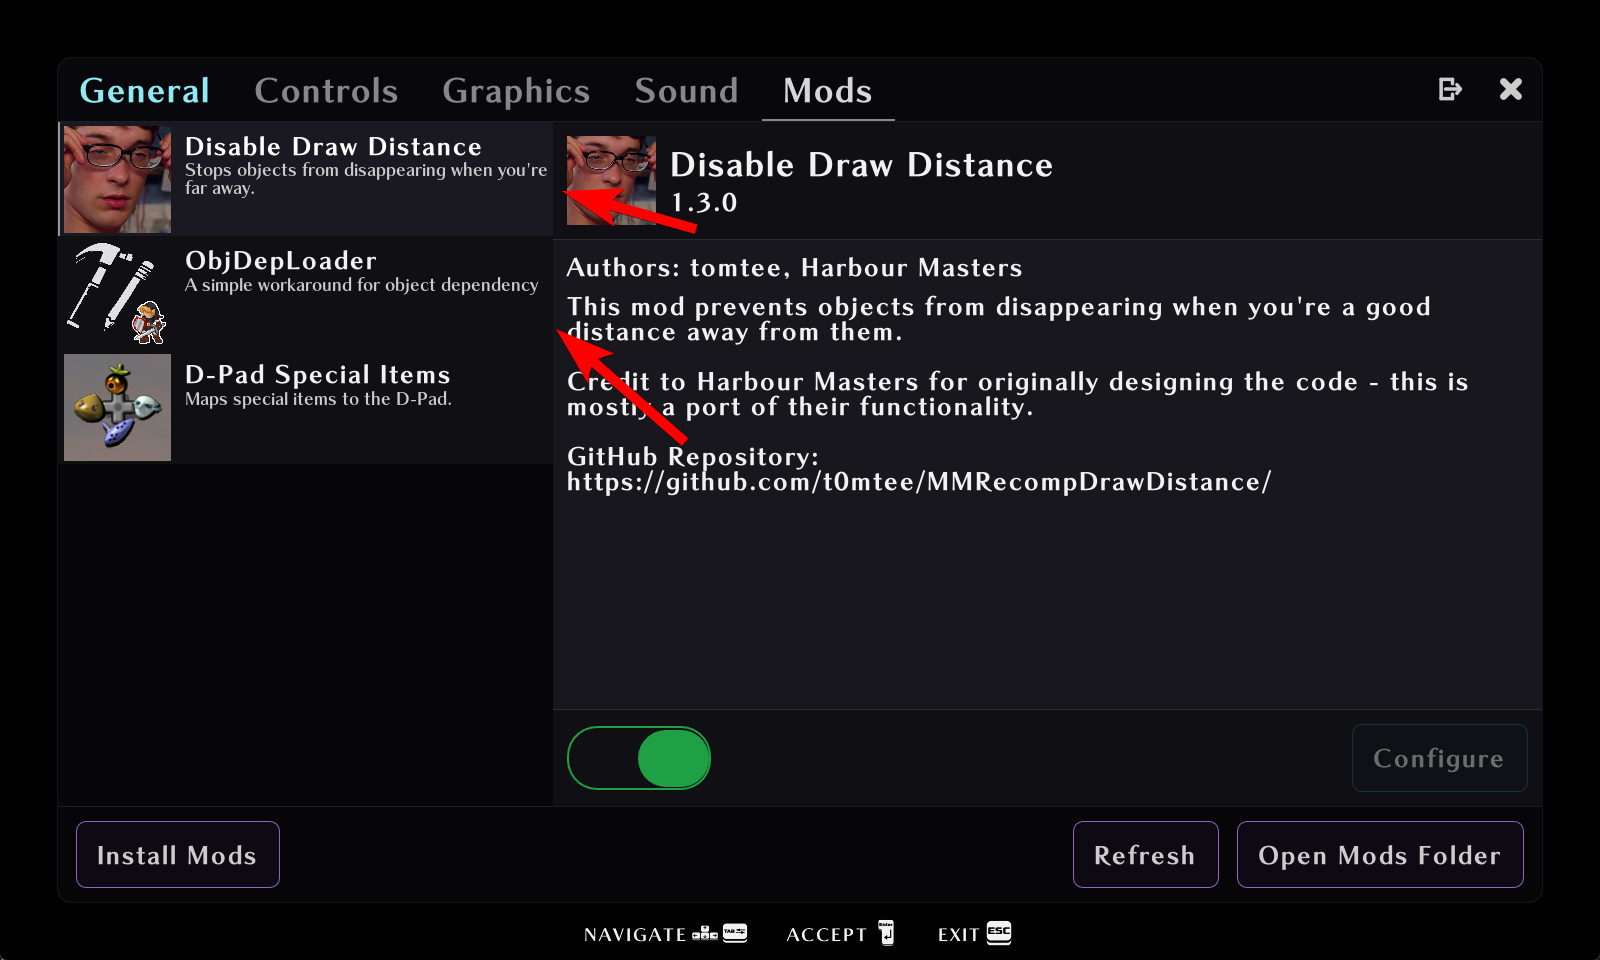
Mods can be enabled/disabled/configured from this menu.
Not all mods have configuration menus; if they have settings to configure, click this button. If they don't, the button will be greyed out.